

One of the most important devices in our day to day, or directly in our lives, is the mobile phone. This small device accompanies us to all the places and in it we keep a number of documents or files that are valuable to us, in many cases they are memories in others, totally confidential work documents. For this reason, it is essential that it is always by our side fully operational and for this we need that the battery is in perfect condition. That is, if your problem is that the battery indicator does not work we will try to fix it by calibrating and giving different tips for it.

Related article:
Get to save battery in Zoom in a simple way
It is already in another era that the batteries of our mobiles lasted days and days (all or almost all of us remember the famous Nokia of the snake). At that time the benefits of mobile phones were not even close to what we have today. In fact, our concept of mobile phone has completely changed, becoming something, as we say, essential in our life. Now with current mobile phones if you are lucky that it lasts a day it is because even the phone will be almost new, and when the battery begins to give problems you have to start looking at it and annoying. That is why having that indicator well and marking the reality of the battery that we have left is important, to know if the phone leaves us soon or not.
In fact on Android -and it is not to mess with the system- usually suffers more battery than iOS but it’s a matter of, as we always say, iOS is optimized for four exact and precise models while Android coexists with thousands of different screens and features. So it is normal that in the long run any Android suffers before battery power than an iOS phone. But don’t worry because in Android Help we are going to help you make sure that what your battery indicates is totally true. Let’s go there with it.
The battery indicator does not work: how to calibrate it in Android?
To start with, you still don’t know what it means to calibrate the battery, but we are going to explain how it goes easily. On many occasions on Android it can happen that the mobile phone is turn off before the battery percentage indicates 0% amount of battery remaining. This happens because the statistics or the algorithm that is used in the battery gets corrupted and in the end we can say that the battery indicator does not work as it should. That makes us run out of good and accurate information. And that information in the end is basic for us since we want to know how much battery our Android mobile phone really has left.
To know if your battery is out of calibration, you will only have to verify a couple of things that we are going to tell you below:
To start you will have to check where you spend the most battery and in the settings of your phone you can find that basic information. If you find out which apps drain the most battery and which ones are in the background, it can be essential to extend the life of your mobile phone’s battery. Also something that we recommend is that respect the charges of the mobile phone and its batteryi.e. let it charge to 100% and discharge to 0%. As a general rule, batteries today are better but if you respect these things you will cause your mobile phone to spend more time on and with a healthier battery.
Related article:
Forget about charging your mobile during the day. This is how you can improve the battery of your Android phone
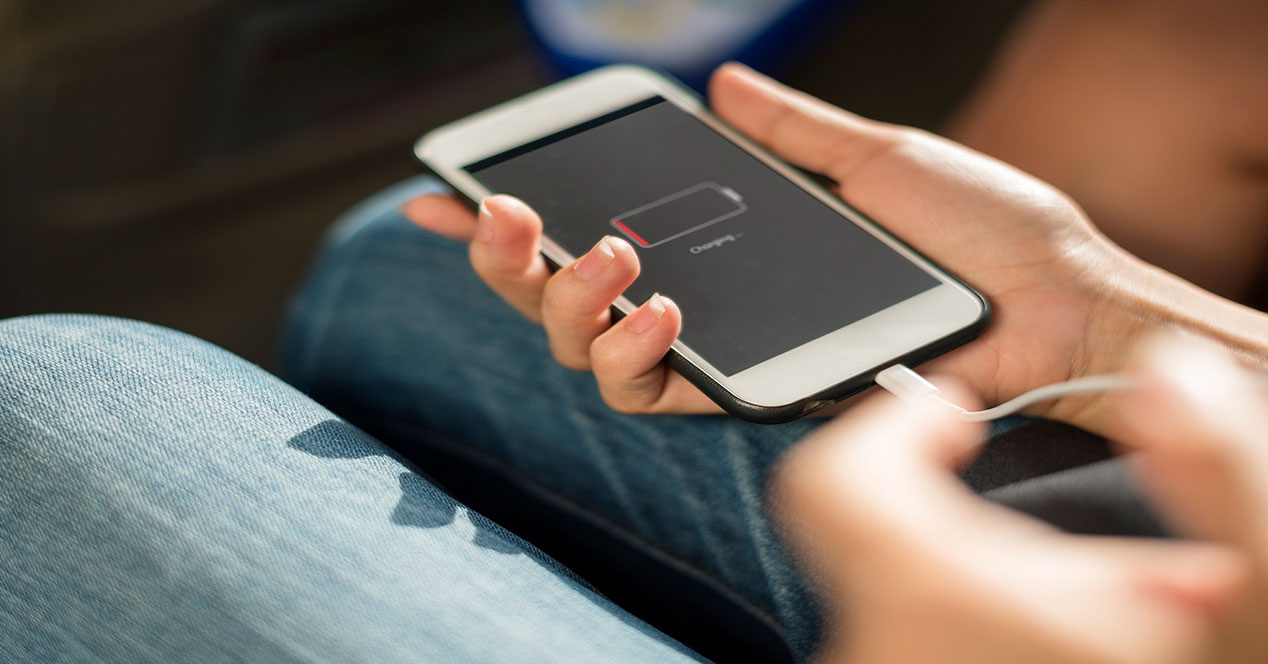
If you see that even with this type of savings or battery tips there is no improvement, the best thing you can do is turn off the mobile phone when the battery is around 50%. Then turn it on again and now take a good look at whether the battery has the same% that I had previously or that is very similar. When you have it out of calibration, what happens is that when you turn on the mobile phone again, you have it much lower and it will be shown in red.
How to calibrate the battery of your Android mobile phone
To calibrate the battery without having access to your root in Android you will have to follow this method It is not very complicated, but you have to pay attention and follow the steps.
To start you should install the app Current Widget: Battery Monitor. This app will tell you what the capacity of your battery is, although in reality you will also be able to do this on Google by searching for what model you have and its battery and capacity. It is another option that we give you, choose yourself.
If you have downloaded the app that is recommended, run the app and now start charging your mobile phone until the app shows you that it has reached that total percentage and maximum milliamp capacity that your model has, that is, you have reached 100% of your battery and it is already charged. Now turn off your mobile phone and turn it on again. That way the battery should be 100% again when you turn it on again and not have any more problems with the battery% since it will always show you the real one and you will always charge the real one.
Related article:
How much battery do you have left? This is how you put the percentage in the notification bar in Android 10
To download the app just you will have to search for the APK in Google or go through Google Play in case it is still uploaded to it with all the guarantees that it does not contain viruses or other malicious files.
We hope that this article has been helpful to you and that from now on you already know how to fix the problem that the battery indicator does not work on your Android mobile phone. If you have any doubts, suggestions or questions about the article, you can leave it in the comment box that you will find right at the end of the article. See you in the next Android Help article.


