
One of the most common mistakes made when recording video with your mobile phone is doing it in the wrong orientation. Sometimes, the device itself does not interpret well what position it is in and this ends up affecting the final result of the capture. Fortunately, rotating a video on Android is a very simple task. In this article we explain how to do it with Google Photos, the favorite application of many users to store their memories, and with InShot, a complete video editor.
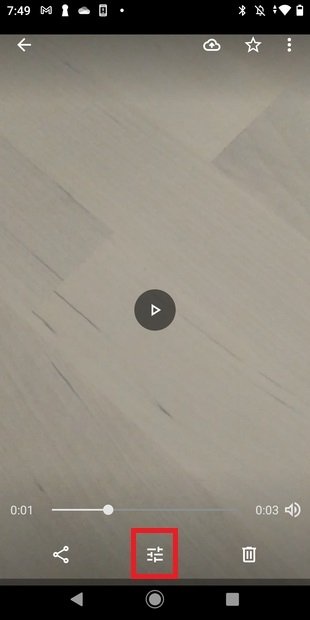
The Google Photos application is installed by default on most devices. Natively, it allows rotate any video quickly and without too much fuss. The first thing you should do is locate the video and open it. Then, click on the settings button.


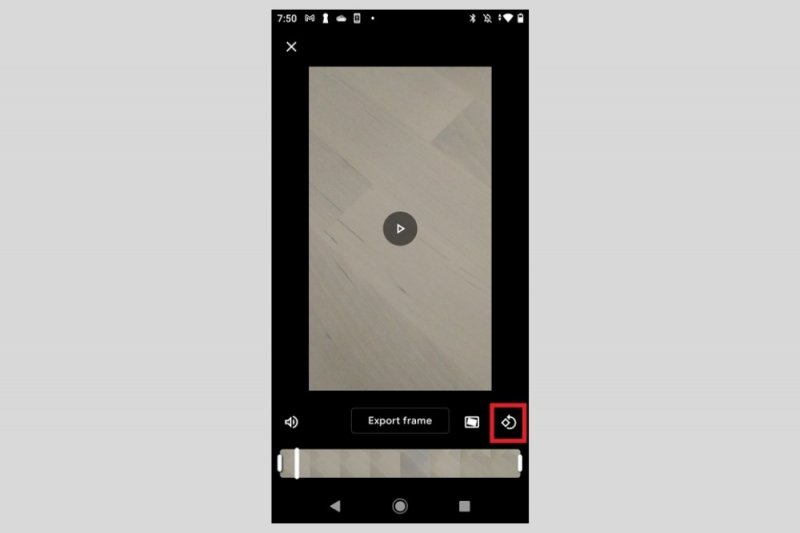
Click on the icon that you will see in the right margin of the screen.
Use this button as many times as necessary to rotate the video and adjust it to your preferences. Once you are done, click on Save copy. The video will be saved in a different file from the original.
If you are not a Google Photos user and you usually store your captures on the device itself, you can use InShot, a versatile and complete video editor. As usual, you can immediately download your installation file safely in Malavida.
Spanish
Android
free
Once you have the InShot application installed on your device, open it and click on Video.
Select a video from your gallery and tap the confirmation button to start editing it.
In the lower list of options, locate the option Rotate. Use it as many times as necessary to adjust the orientation of the video to your needs.
Finally, use the button Save to save a copy of the video.
Being a more advanced editor than Google Photos, by using InShot you have the ability to choose the resolution of the resulting video
. Select 1080p to export in FullHD resolution. On the contrary, if you want to quickly share your video on social networks or through instant messaging, it is advisable to use an HD resolution. Do so by selecting the 720p option.Remember that you will have the final result by navigating, in the file system of your terminal, to the folder Movies and then InShot.
Exploring the Top 5 Voice AI Alternatives: What Sets Them Apart?
How iGaming Platforms Ensure Seamless Integration of Casino Games and Sports Betting?
The Rise of Spatial Computing: Evolution of Human-Computer Interaction
Data Loss on Windows? Here's How Windows Recovery Software Can Help
Integrating Widgets Seamlessly: Tips for Smooth Implementation and Functionality